

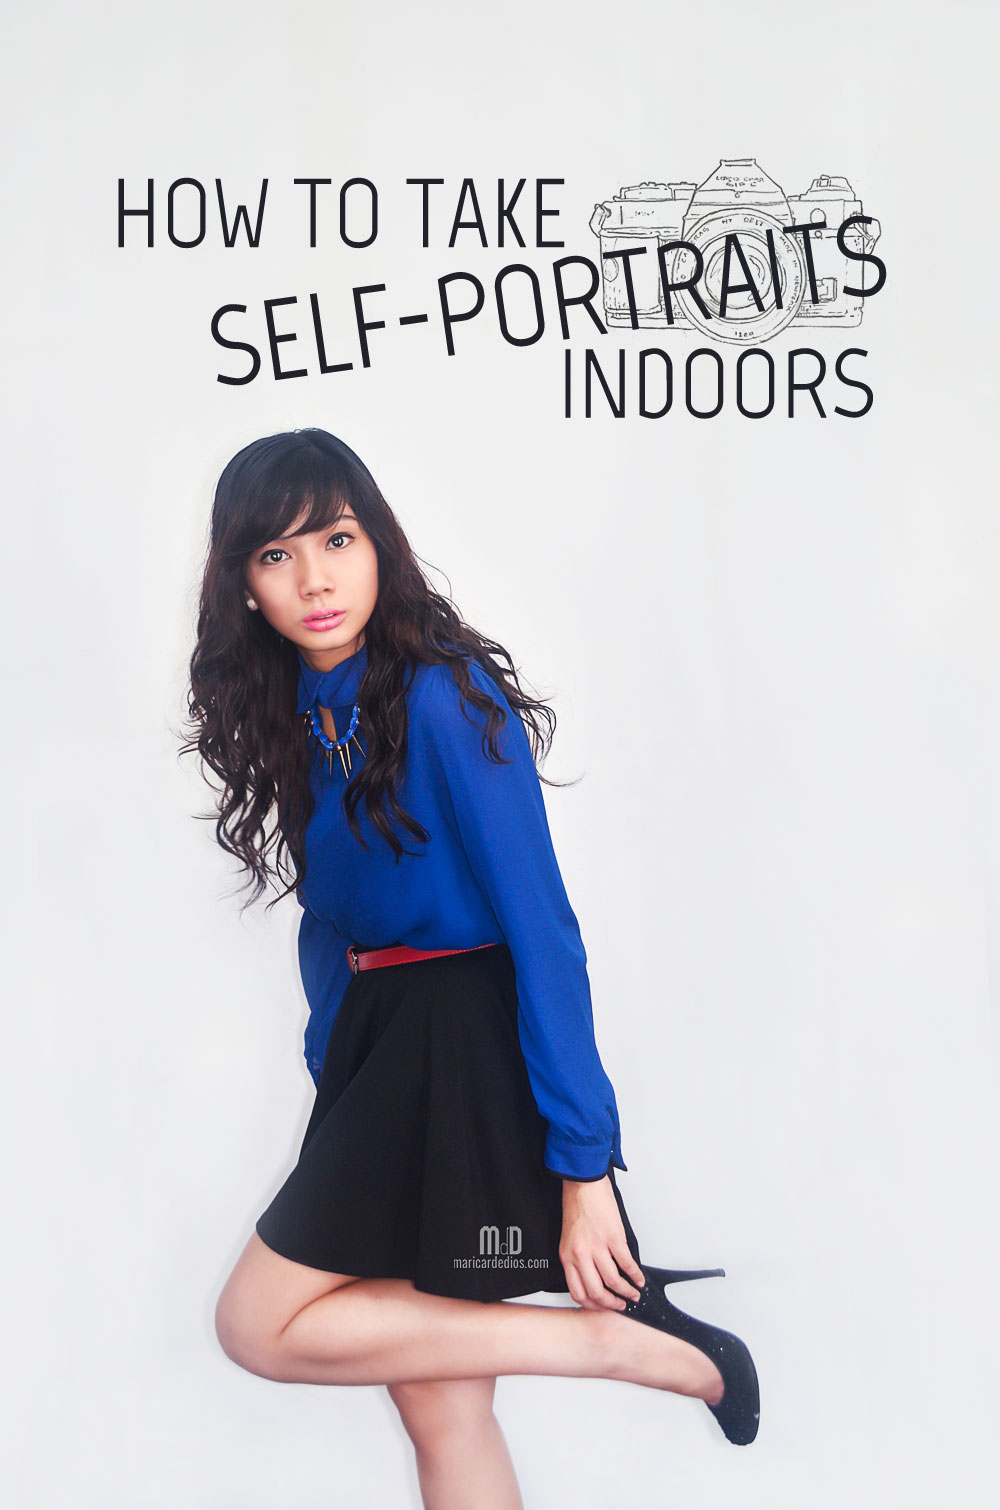
HOW TO TAKE SELF-PORTRAITS INDOORS
Let’s face it – in today’s world, the perception of people connected to us is hugely based on the photos we share over the internet. Sharing has become a way to give people a chance to see a bit of our lives – either to take a glimpse of our latest travel, to drool over the food we are about to devour or to admire the outfit we have put together for day. Although I think our ways and means of socializing have evolved into something a bit.. sad, I won’t deny I also like taking pictures for my blog from time to time.
As netizens though, I believe it is our responsibility to fill the internet with GOOD QUALITY photos. I am aware that technology has equipped mobile phones and tablets with cameras that are now more competitive, quality-wise. This makes #selfies and #ootd’s so easy to produce (and abuse, if I may add). However, I will take the hipster route (well, not really) and share HOW TO TAKE SELF-PORTRAITS INDOORS USING A DLSR. I think taking photos using a DLSR is still the way to go especially if you need professional looking photos for some special reason or you want to do some fashion, lifestyle or make-up blogging or you want to start your own online clothing shop or well, you simply want to bombard your Facebook wall with good photos for your friends to see.
 I’ve been asked quite a few times the question, “Who take your indoor photos?” and my answer is, “I take them myself”.
How? Well let me show you a step-by-step guide.

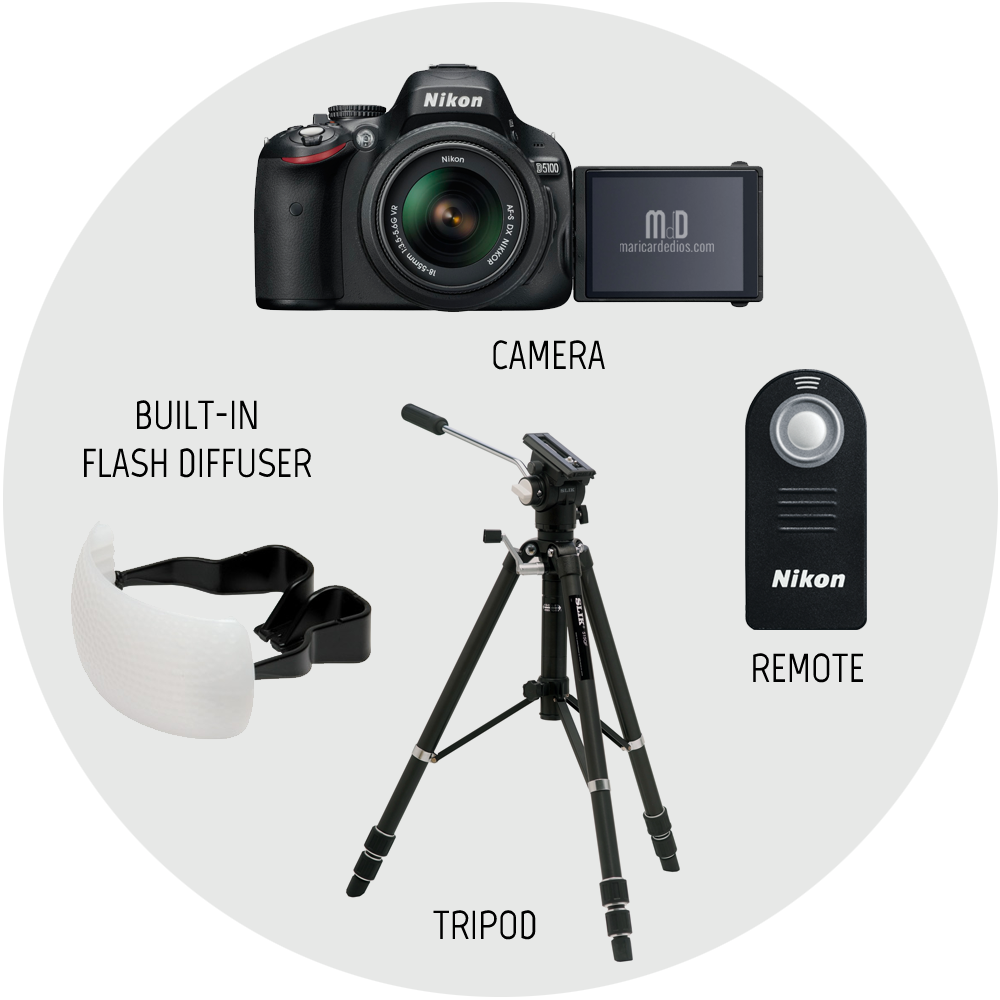
What you need:
1. DLSR Camera – I own a Nikon D5100 and one of the reasons I bought the model last year is because of the rotating screen. It is a convenience to be able to orient the screen in front of myself when I am doing self-portraits because I can see my position within the frame and of course my angles and poses. Naks. Other than that, I did not see the need for me to buy a more professional camera because I will only use it for my blog. Entry- level works for me.
2. Tripod – Unless you have a table or something of the same sort where you can securely place your camera on, it is best to invest on a tripod. Cameras are expensive so you don’t want to damage them by dropping in the middle of your photo session. Tripods can also be used outdoors so really, it is a good investment for photographer hobbyists.
3. Built-in Flash Diffuser – One of the problems in taking photos indoors, reason why most bloggers hate it, is the lack of natural light. You just cannot replicate the effect the sun can do to your outdoor photos. However, when given no choice, I take pictures indoors and do the best I can to maximize the light. I am no expert in photography so what I do is (1) I open all my windows, (2) fix my camera settings to the most acceptable values in which I can produce bright yet not too blurry and noisy pictures and (3) use my pop-up flash aided by a diffuser so my photos won’t look washed-out. If you have money to spare, you can invest in soft boxes and other lighting equipment. I believe Tricia Gosingtian uses those. However, if your room is very well-lighted already, you can disregard using your flash. It will be better and you won’t need a diffuser anymore. A good tip is you stand next to a window.
4. Remote – You can do without this. Really, you can. For the longest time I’ve been using the self-timer function of my camera and I was able to get by just fine. However, once I started using a remote, I don’t want to go back. You see, it is more difficult because (1) You need to place an object on the spot you will be standing to have something to focus the lens on. After doing so, switch the focus to manual (so the focus won’t change) and take as many pictures as you want on the same spot. Once you change location (even just move forward or backward), you need to focus again. Focus depends on the distance of the object from the lens. (2) It can be tiring to go back and forth to the camera especially if you are wearing heels and you are taking many photos.
Sounds complicated? Please don’t be disheartened! It’ll be easier once you get things going.

I do it in my bedroom. The good thing about doing it indoors and inside my room is that I can easily lock my door so nobody can come in and see me doing weird stuff. LOL. Doing it outdoors may require extra confidence because passers-by come and go. You wouldn’t want an audience, would you? It will help a lot if you feel comfortable because discomfort can show in the photos.
Since my bedroom doubles as my studio, when I renovated my room some months back, I had my room painted white (still white) because I like the professional feel white background brings. It serves also as an empty canvas when I wanted to edit my background to add some creativity.
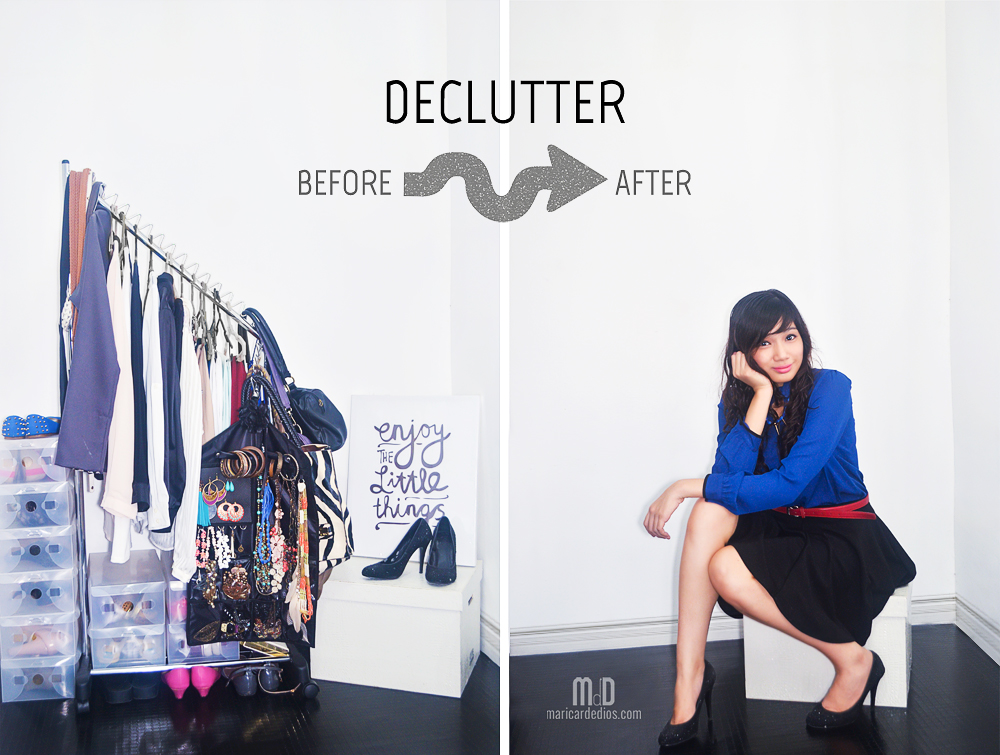 My room isn’t so big so I maximize every inch of the space. On normal days, I have a corner where I put all my bags, shoes and some tops and jackets. I am the least organized person in our house so that corner usually gets cluttered. When I take photos, I temporarily put all the stuff some place else to clear up the space. That’s when I find my spot.
A tip when you do finally find your spot is to DECLUTTER. You wouldn’t want to show unnecessary objects in your photo. If you are not doing it against an empty wall, an organized space as your background will look much better than a messy one.

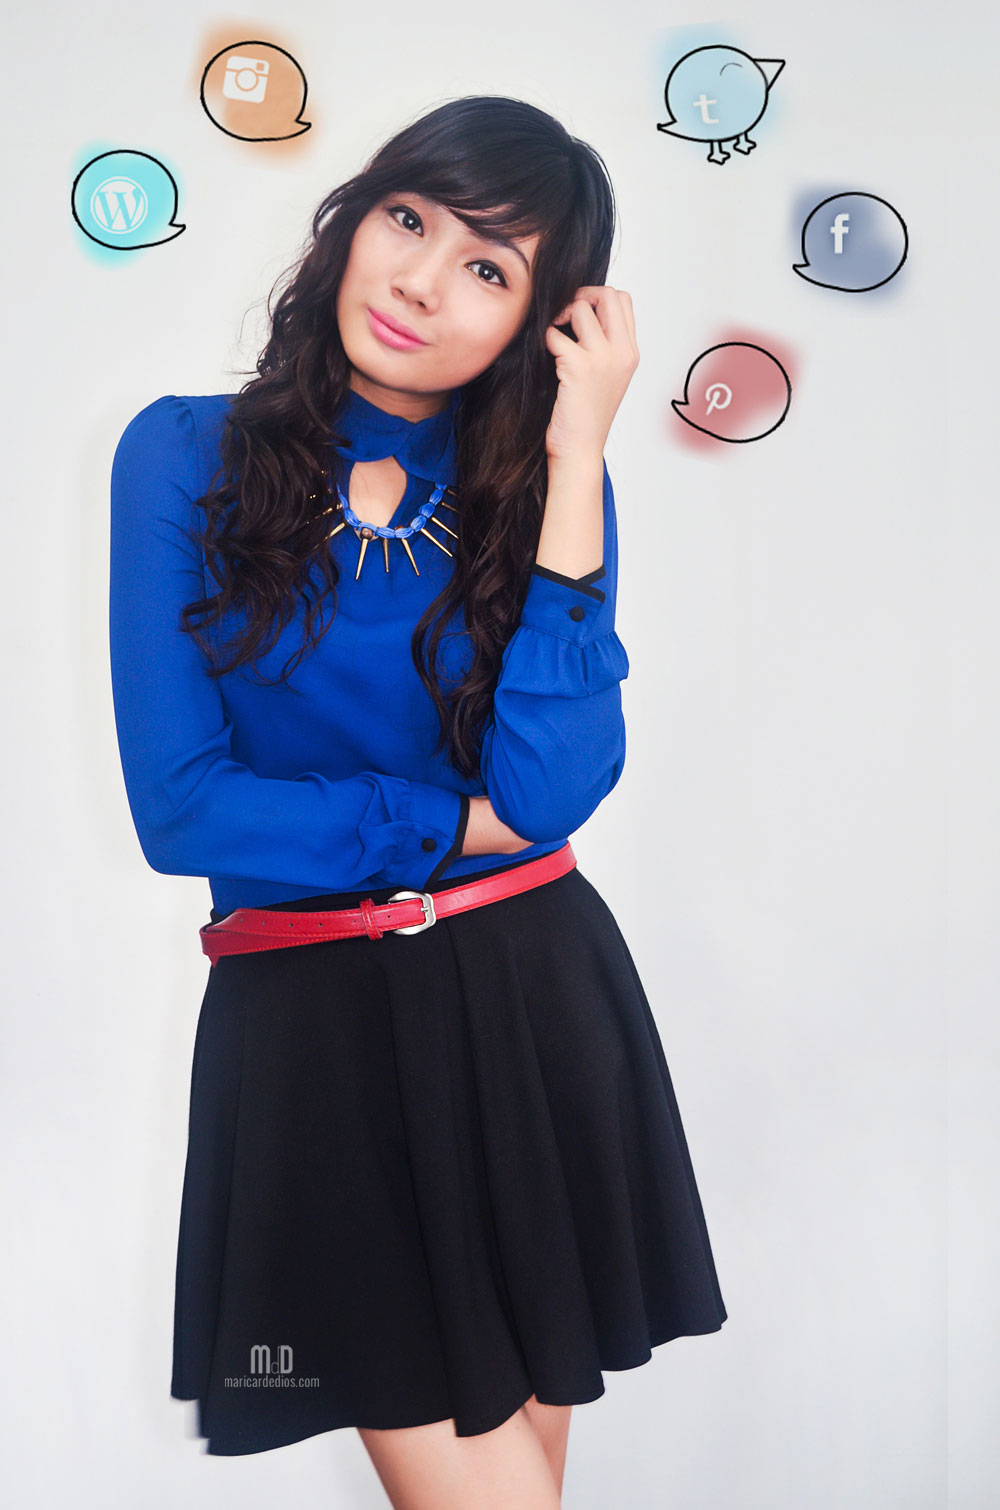
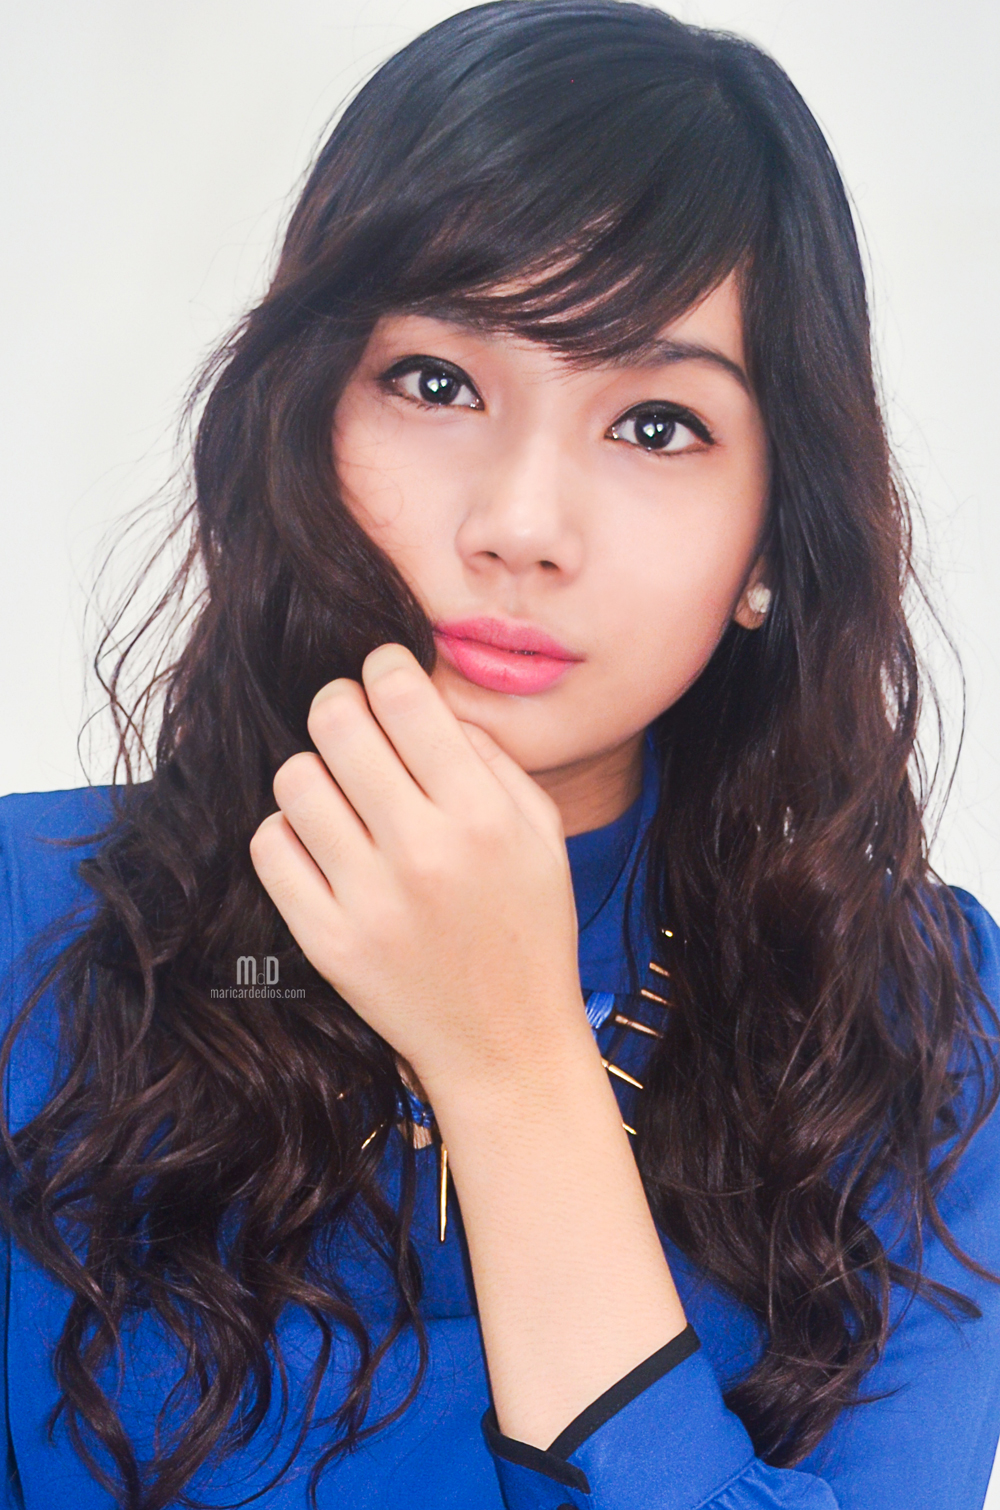
 As what Tyra Banks says, know how to work your angles. Admittedly, I don’t have a lot of poses so you’d probably see me do the same thing over and over. My photographer friend is already frustrated at me. Hehe. Do trials and errors and be experimental. Honestly, I don’t like over the top poses for outfit shots because sometimes they look like I am trying too hard. I usually go the blogger route and pose minimally. However you wish to do it, just work it, girl!
Oh, if I may add, have you noticed my right arm wasn’t posing in photos? I’ve been trying to hide the remote!

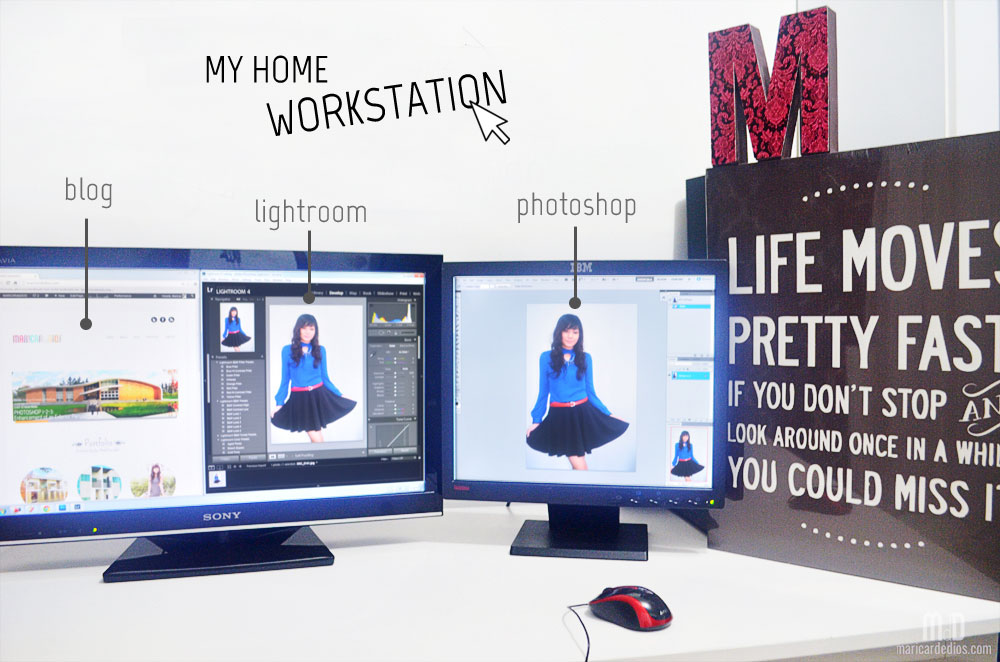
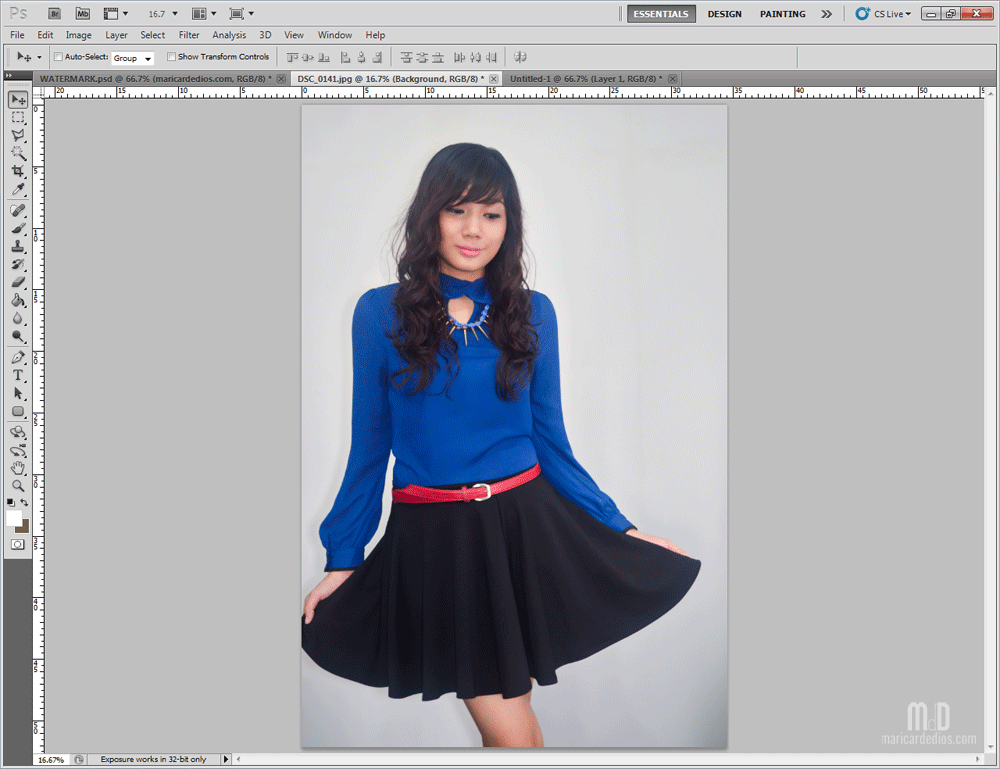 Because I am not a pro photographer, more often than not I still need to edit on Lightroom and Photoshop. I usually adjust the exposure, contrast, curves, levels. I usually use dodge and burn. I think it is acceptable to edit out some blemishes but I don’t overly edit up to the point where I won’t recognize my face or body anymore. One thing I am guilty of is that I somehow make my complexion look fairer because when I increase the exposure/brightness the skin tone adjusts also. I’m a morena, surprise! HAHA.
By the way, how to get creative? See this post.
 The easiest step: SHARE to your social media platforms! Reach out to your audience/readers/friends. Show them your latest outfit or make-up or hair do.
However, please share responsibly. No #selfies every other minute. Please. God. No. And also, remove the “I’m so ugly/fat.” caption. You wouldn’t share it if you didn’t think you look good, would you?
 Thank you for reading! Hope this helped in any way!


I noticed you sharing some ideas regardiing photography. Very nice. \m/ Rock on!
I tried to.. hope I made some sense! 🙂