

PHOTOSHOP 1-2-3: Enhancement of an Exterior Perspective
“Hi Maricar,
I discovered your blog a few weeks ago and as a fellow architectural student/professional I have been really inspired by your work. Your designs are incredibly ambitious and thought provoking to me as you clearly push the boundaries and explore new conceptual ideas, I also think the ambiance and atmosphere you develop in your visualizations are equally as great … I know it’s a big ask but would it be possible for me to send my portfolio online to you for you to critique my work and give a little guidance on how I can replicate the appearance you achieve in your visualizations?
I really appreciate you reading my message, I think your work is exceptional and I look forward to more blog posts, thank you.
Kind regards,
David Banks.”
Isn’t it the sweetest thing? Although it was a personal message, I couldn’t help but share it to you guys.
In an exchange of e-mails with David, I learned that he’s from England and just graduated from the University of Salford. I viewed his portfolio as he requested and I couldn’t say a bad thing about his works. He’s pretty good. He even has this award winning design of a Community Centre in Manchester.
One thing I can comment about his presentation and visualization is that a litle bit more of Photoshop won’t hurt. I guess that’s where my edge is. With that, I proposed to feature one of his works on this blog with my own Photoshop rendition of his perspective. I’m glad he happily agreed.
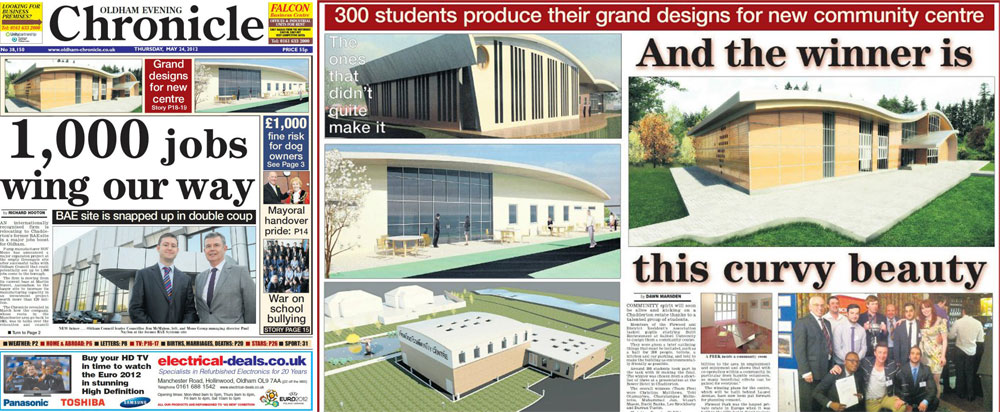 As you would have guessed, I chose to do the previously mentioned Community Centre. (Above is the feature of the design in their local paper. Cool. )
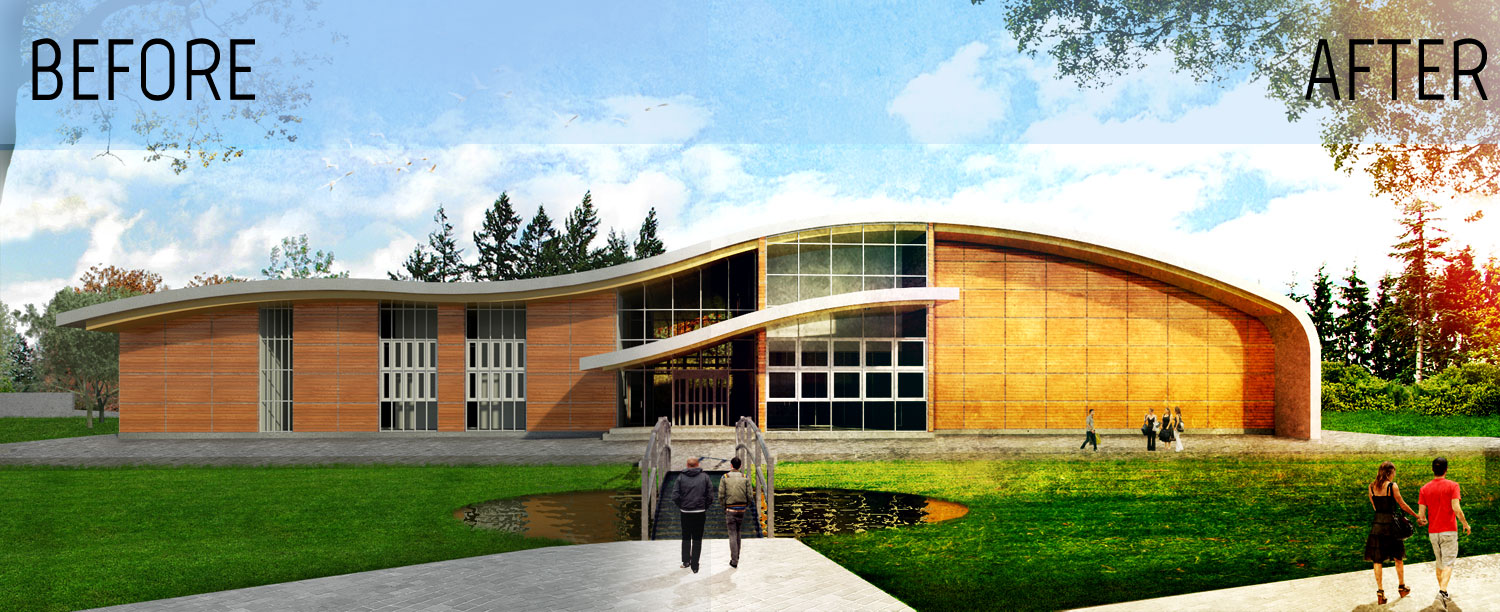
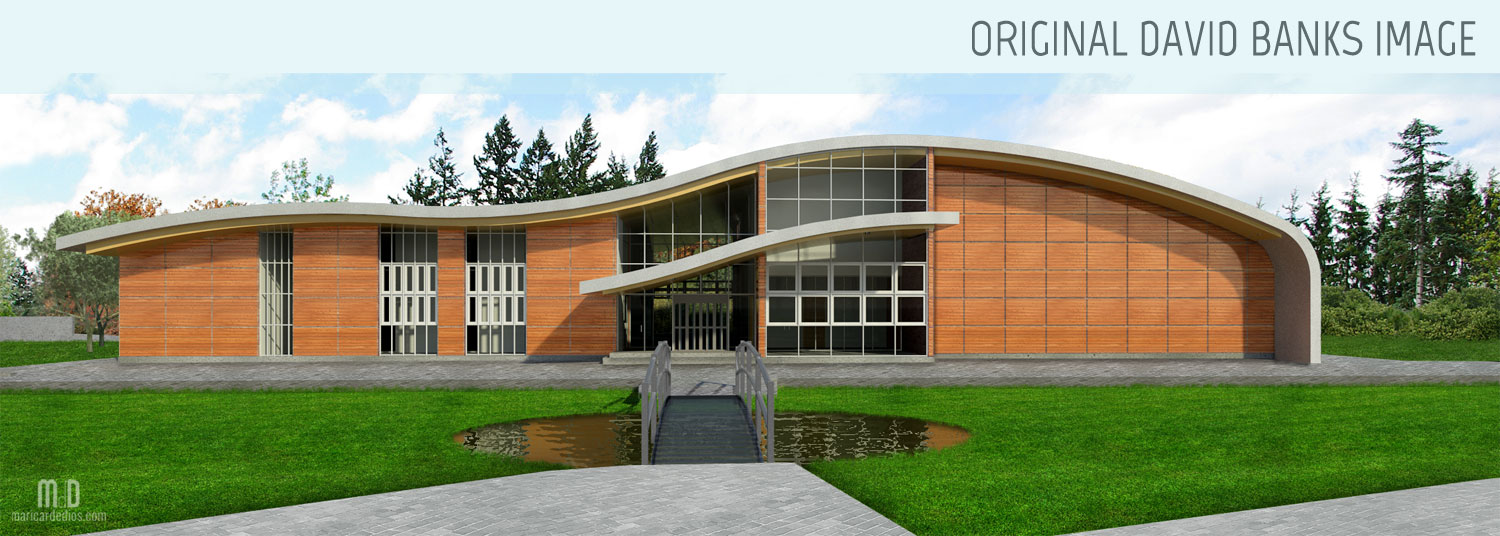 The rendering is good enough already. It was modeled in Revit, rendered with Mental Ray and post-processed in Photoshop. The textures are already there so there isn’t much to do actually.
I just have three main steps. I won’t elaborate each process as much but some details of the steps can be seen in my in previous Photoshop tutorial.
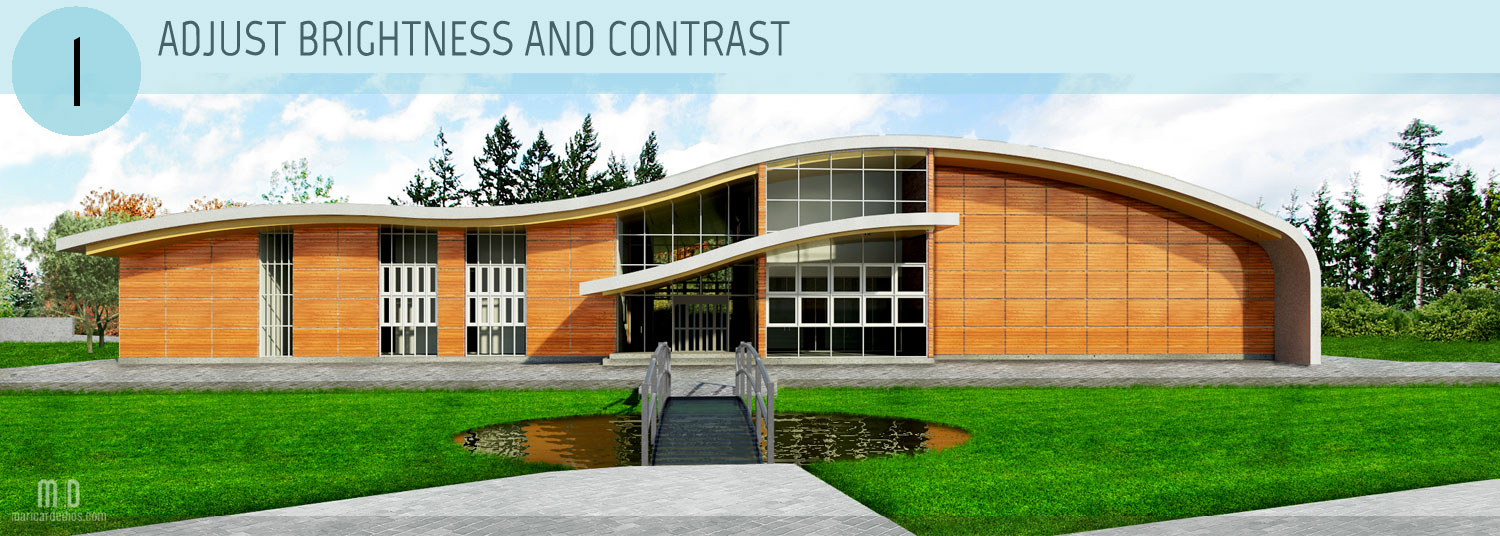 Sometimes, simple adjustments in levels or brightness and contrast can make the photo sharper and more vibrant. It’s a step even non-photoshoppers can do.
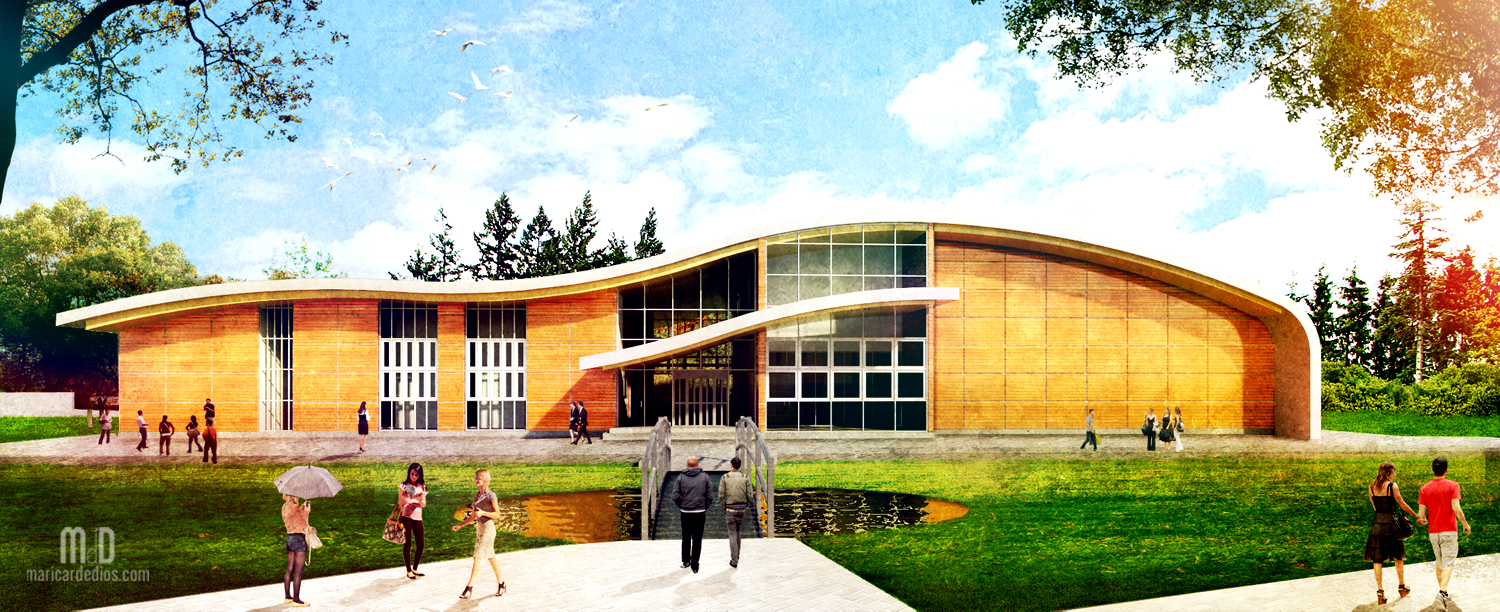
 People, trees, birds can make the perspective more alive and interesting. It can also establish the scale of the structure.
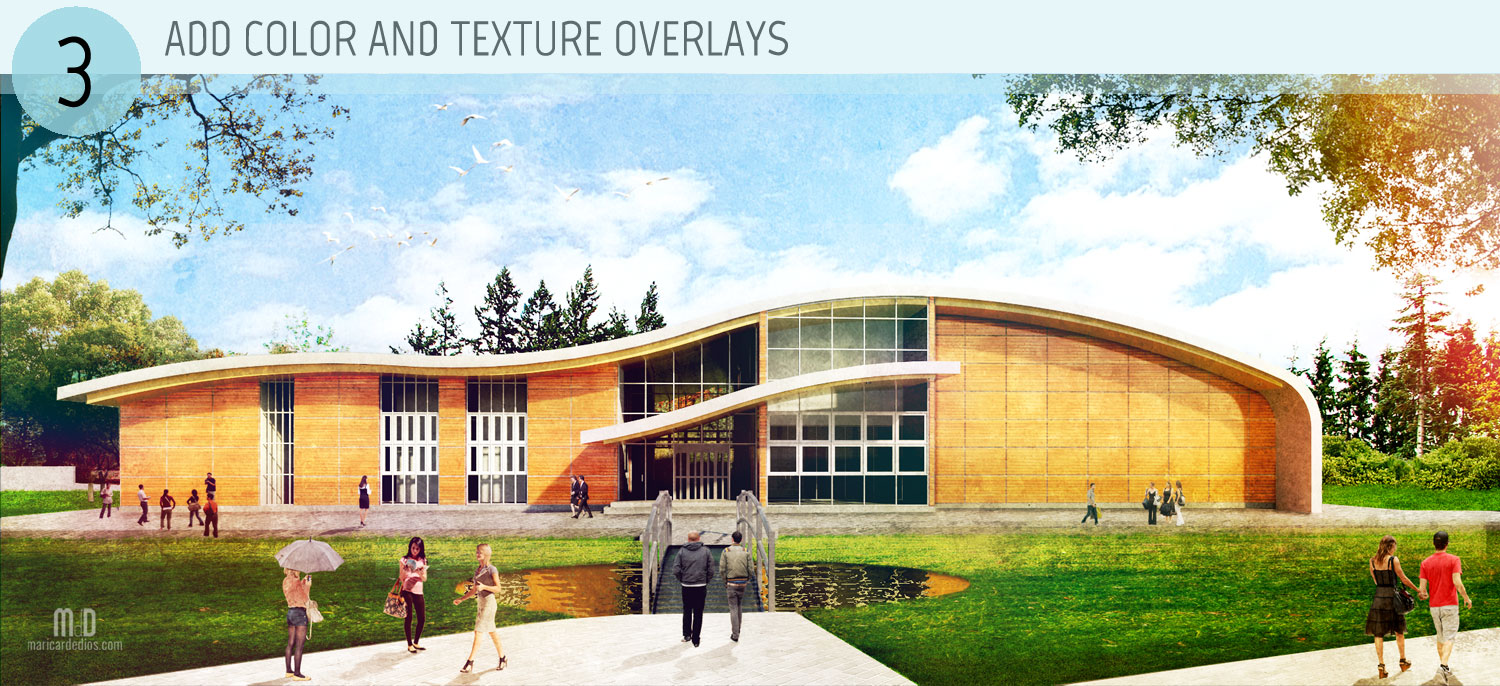
Since I put in JPEGS from different sources as entourage, some of the colors do not quite match. Adding color and texture overlays can make the perspective more put together. You can also control the over-all tint of the photo with the technique. I usually go for warm colors.
 Well, that’s about it! Easy, right? Always remember the three main steps, those are my go-to moves when I enhance renderings. I picked up most of these from the amazing Alex Hogrefe.
 What do you think?
David, I hope I didn’t disappoint! Thank you for allowing me to feature this. Best of luck! 🙂


Ang GALING!!! *0*
Hihi. Thanks. 🙂
Ang galing naman! Pa fish chips ka naman! :>
Basta sayo yung banana chips! 🙂
Maricar, I can’t say thank you enough. When I first emailed you I never expected the response to be so welcoming and complimentary about my work, yet you where, and then the offer to work on one of my designs… I had to reread the email to make sure I wasn’t still dreaming.
With regards to the tutorial I am over joyed and truly thrilled with the outcome, I believe the edits you have made have turned a ordinary looking render into an image that allows the viewer to aspire and imagine to be there, captivating them their minds and allowing them to add their own impression of the place, yet my original imagery presented a plain view where maybe the viewer focused purely on the building being presented, not their interpretation on how the space and building could be interacted with. The main reasons why I am so enticed by Maricar’s work is firstly her designs are simply amazing and clearly she is a very talented architect who will certainly succeed in her chosen profession, secondly the way she makes her designs come alive through the use of photoshop is enthralling, I physically want to experience the scene’s she creates, this tutorial and other’s have and will go a long way in helping me achieve my aim of producing similar results.
I’d like to finish by saying you don’t just produce tutorial’s Maricar, you inspire me and others to improve and explore new ideas, new experiences which is an invaluable gift, thanks you.
Awww. Thank you so much. It was my pleasure, really. As I told you before, I thought only my friends read my blog so I was so thrilled it reached the other part of the globe. I’m really happy so THANK YOU! 🙂
what a wonderful tutorial….i liked goin thru it..n reading both of ur (davids and ur) responses!!! 🙂 seriously i never knew photoshop brings in so much of life…then its also about how u go abt visualising the final product..thats a talent in itself! thanks Maricar!