

PHOTOSHOP TUTORIAL: Adding Lights on a Vray Render
We all have that moment when we can’t seem to make things work and we have zero time to figure out why… because lurking around the corner is the deadline. Yikes!
I’m sure by this time of the year, a number of architectural thesis students are working day and night to finally finish the most important output of their academic life. I bet some are still figuring out how to make killer renders that can blow their jurors away. However, Vray can be stubborn and time-consuming to figure out — most especially the lighting. With that in mind (and also in response to a request I got months back), I have put up a tutorial showing you do not need those complicated Vray lights, Photoshop is here to the rescue – as usual!
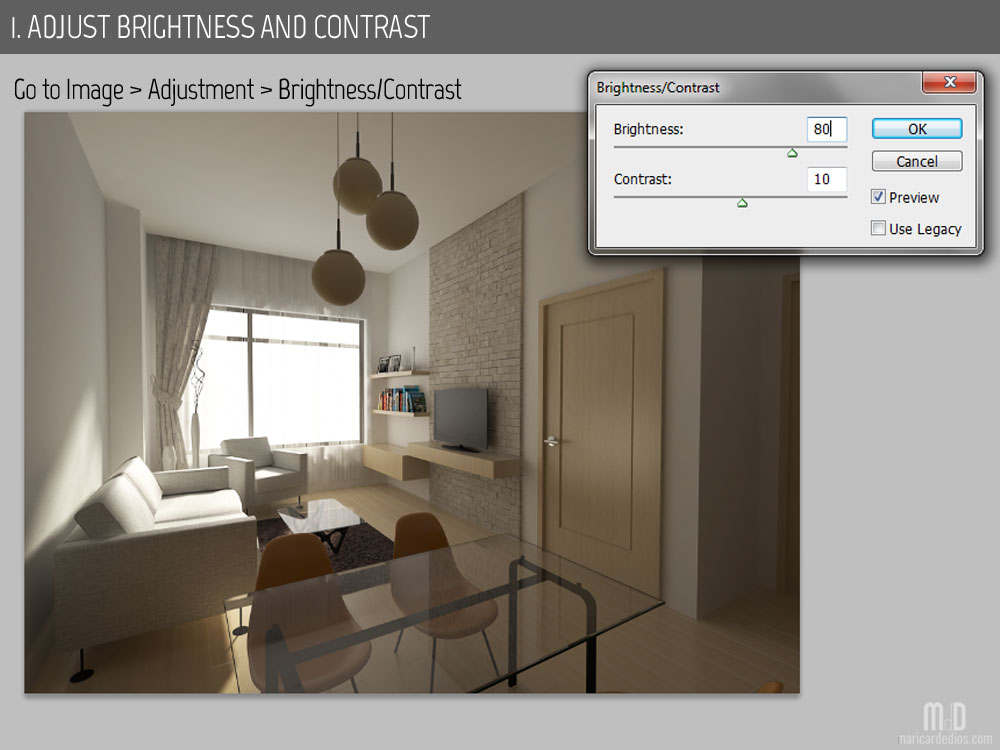
 I created this render using default Vray Setting for lighting. The only source was the illumination coming from the window which is basically what anyone rendering an interior can get by putting a hole in a wall. No lights were added.
I intentionally rendered it dark to show how this (pretty bad render) can be revived in the end.
Here goes my basic steps to manually add lights on a Vray render using Photoshop:


 That’s it. Basically, all you need to learn about is the Paint Brush tool and its different modes painted on layers set at different options. Of course, don’t forget the Lasso Tool in the process. Let it aid you in creating more precise edits. Lastly, the modes I specified are just suggestions, feel free to use the several other options available in Photoshop.
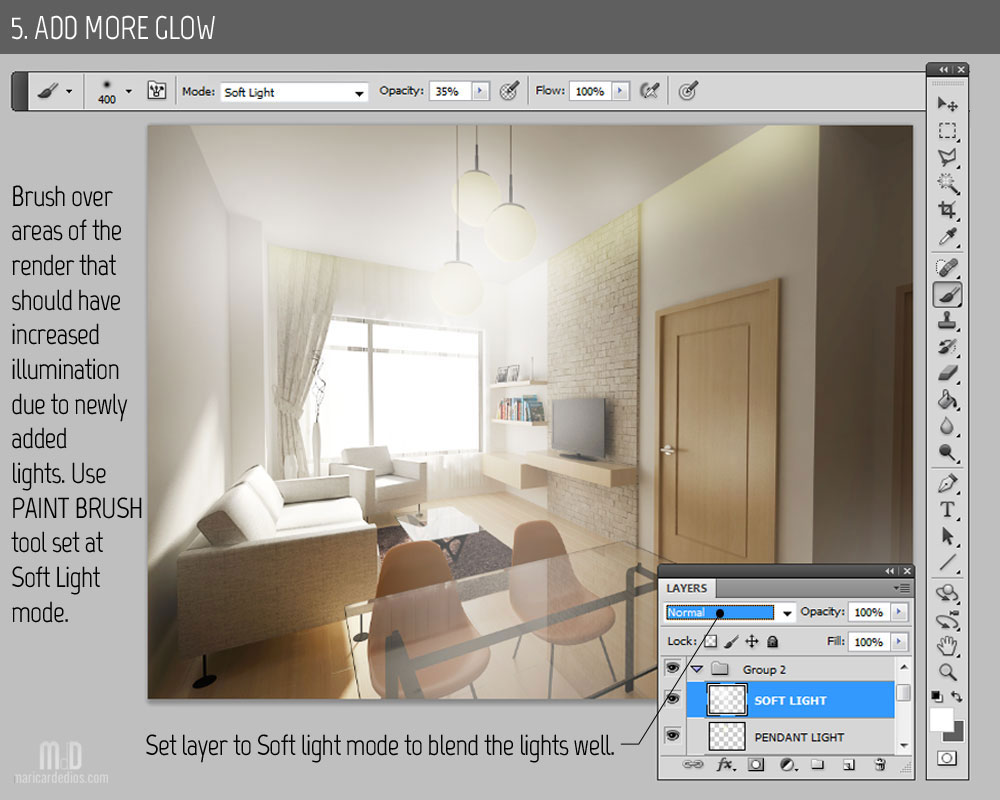
Most of you can stop at this point but I’m usually not finished until I get my vibrant output with an interesting hint of grungy texture. In the meantime, here is an additional tip:
 Now that the TV has been turned on, I’m going to go ahead and enhance the render further using my go-to moves in Photoshop editing. I have a separate tutorial discussing those. Why don’t you head over this LINK and check out my other techniques in finishing touches.
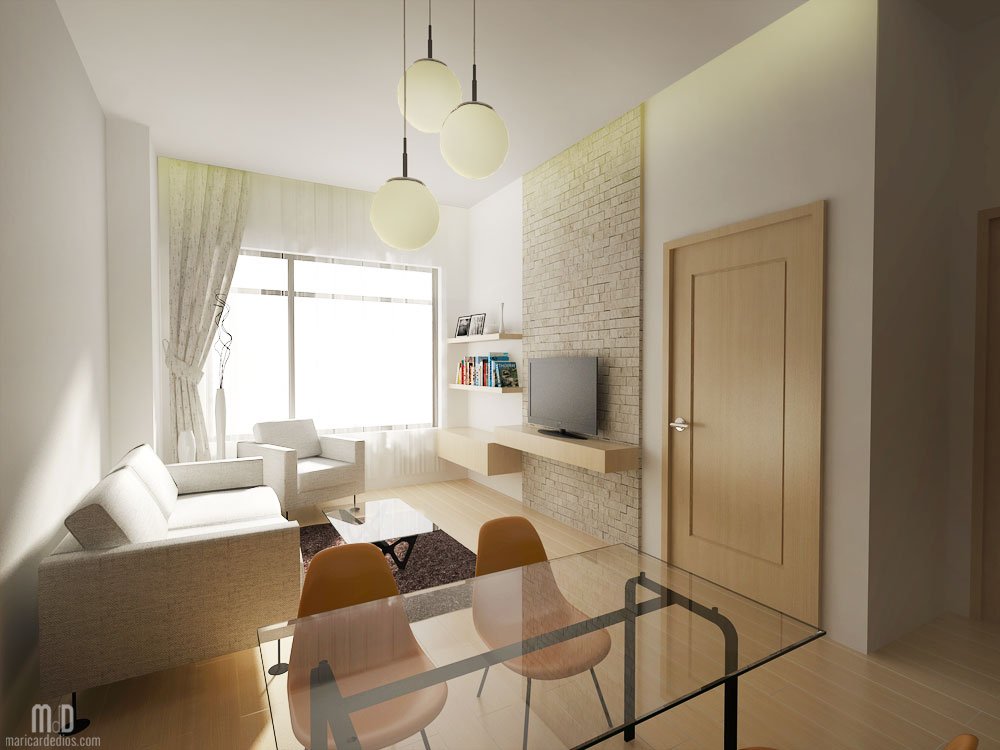
My final output can be seen below. What do you think? 


I also use SketchUp, Vray and Photoshop for my renders. For interiors, I normally add lights inside SketchUp, however, there are times where rendering takes longer than expected, so I just have to remove the lights and go with default lighting. But thanks to this tutorial, I’ve discovered a faster way to light up my interior renders using Photoshop. I feel so inspired to create my own so I can practice this method. =)
Exactly! Vray lights increase rendering time tremendously. This can be useful if you don’t have the luxury of time. Glad this tutorial helped. Thanks for visiting. 🙂
Omg thank youu for this! Since I asked you about this till last week I’ve been constantly searching for tutorials like this using only photoshop to see if anyone would finally made one :)) Yay thaanks! <3
No problem! Sorry it took me so long!
Thank you for this tutorial, this is helpful. 🙂
So glad it helped!