Architectural Thesis Rendering
So you have a design. Your vision on how you want to present it has a direction. You fairly know how to do your 3d model and you know how that render button works. What’s lacking? Maybe some extra oomph? Plus, added visualization and better execution wouldn’t hurt too. I think I know what you need!
I was contacted via this blog by some architecture students mid to late January to do some rendering enhancements for their undergraduate theses. February, after all, is the thesis defense month for most. Since PHOTOSHOP-ing photos to life is a favorite hobby, I happily agreed to the job.
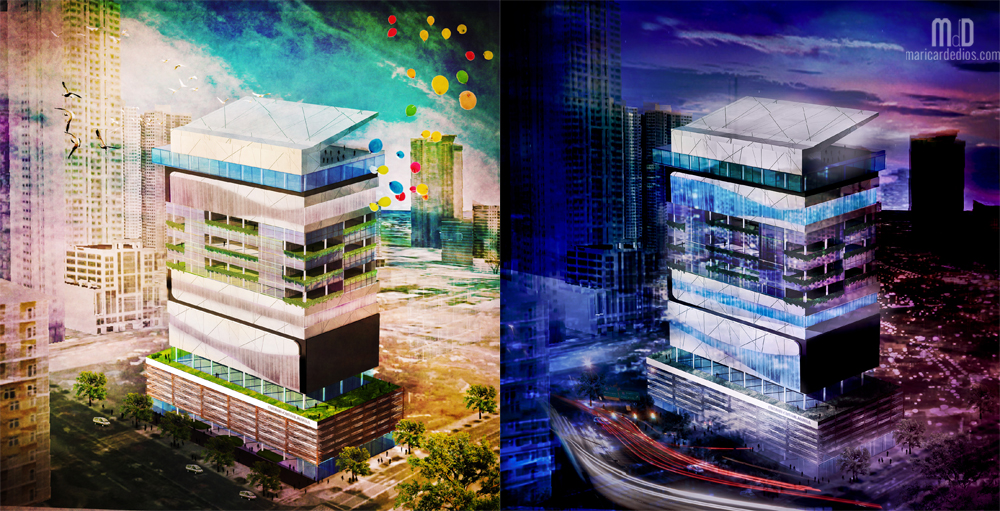
Here are some of the before and after photos of the works I did. The renderings are good enough already, actually. Sometimes though, a better rendering can be hampered by lack of time, knowledge on the setting of a specific material and correct illumination. These are the adjustments I also need to perfect on my own. In the meantime, tweaking via Photoshop can also produce the same, if not more unique, effect.
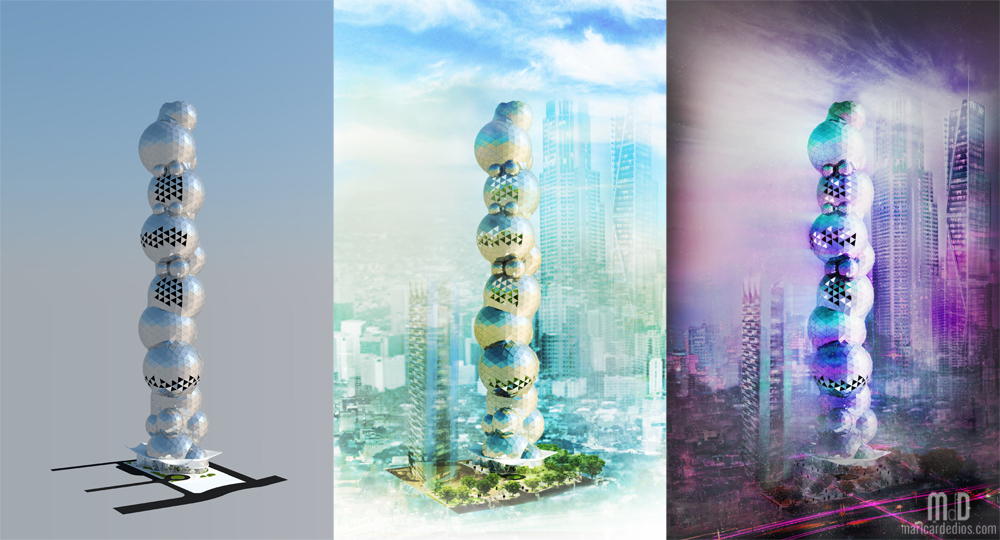 A single exterior render can be a base for both the day and night perspectives. Doesn’t that save you a lot of time? *wink

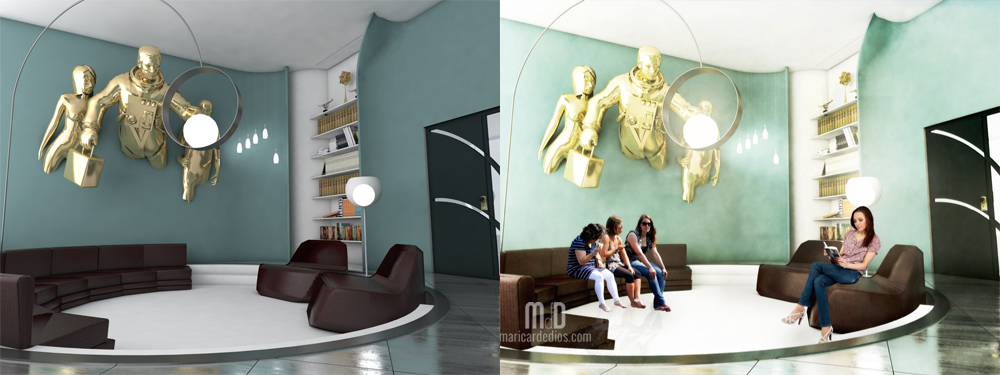
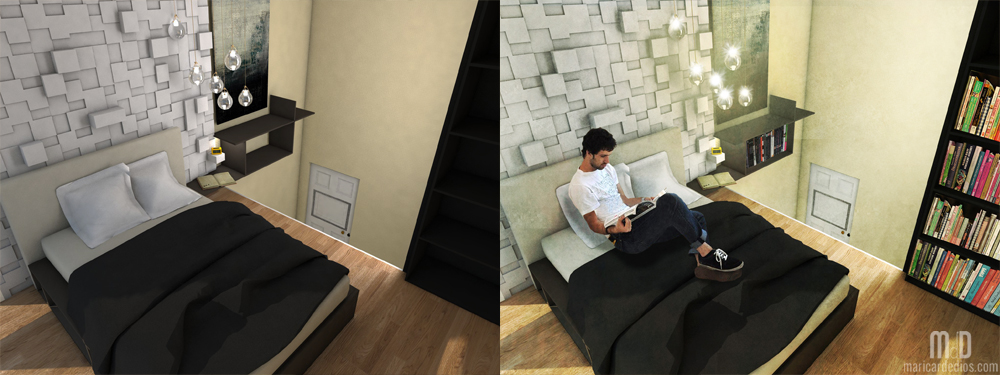
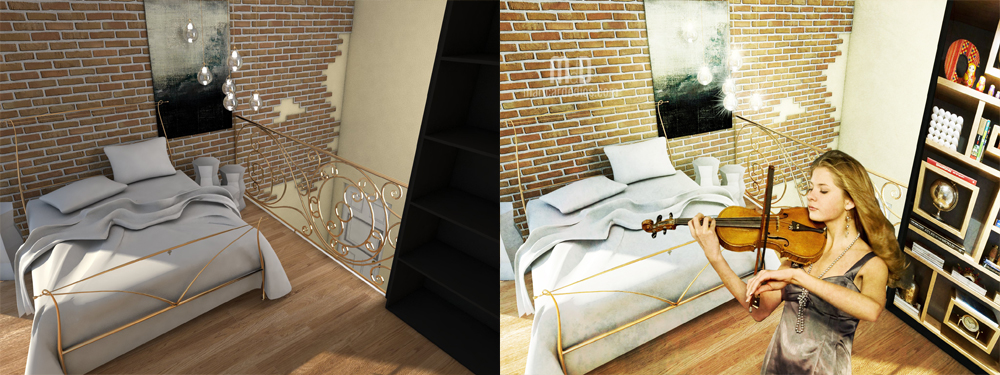
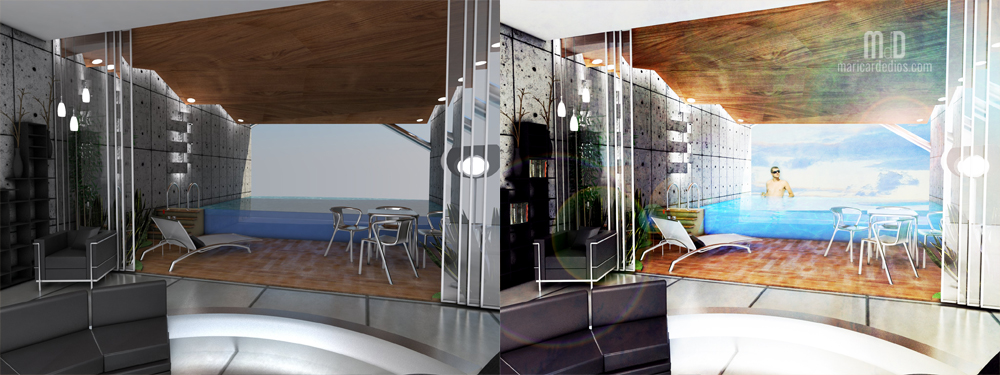
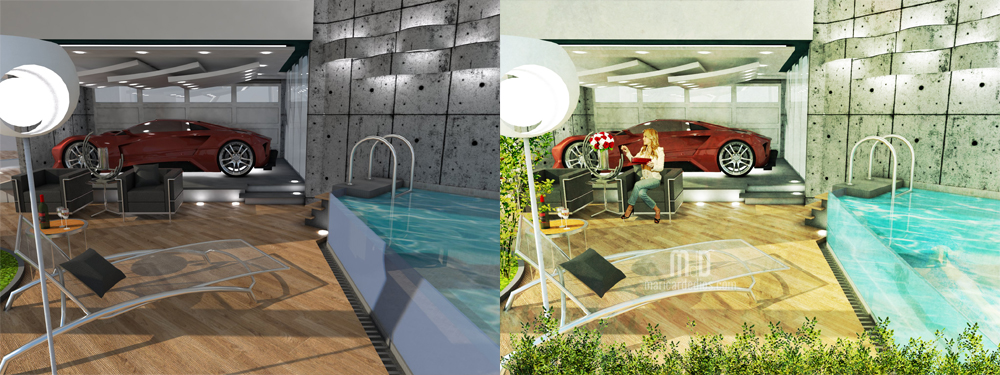
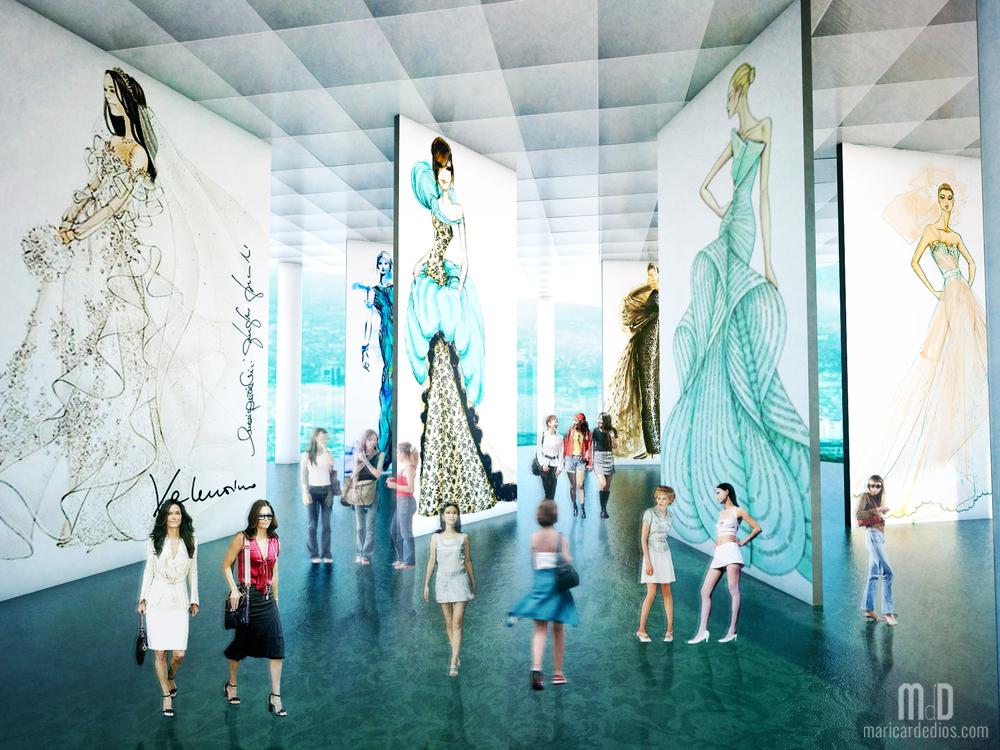
 Those are some of the interior perspectives of the previously shown project by UST student Michael Viloria. Now how does this work? Students usually tag in instructions they want for the specific rendering. Once I see the vision, I’ll take it from there.
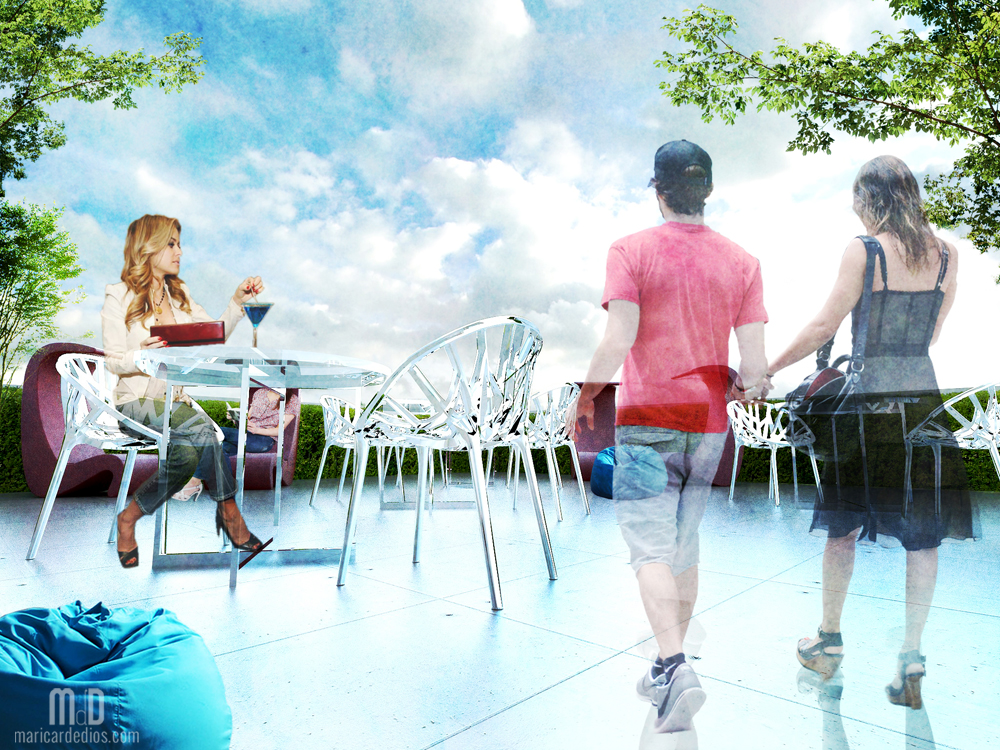
 More samples from other projects:

 I also do elevations…
 …and sections!! I’d ask for the SketchUp file for this. Interior must be detailed to a certain degree.

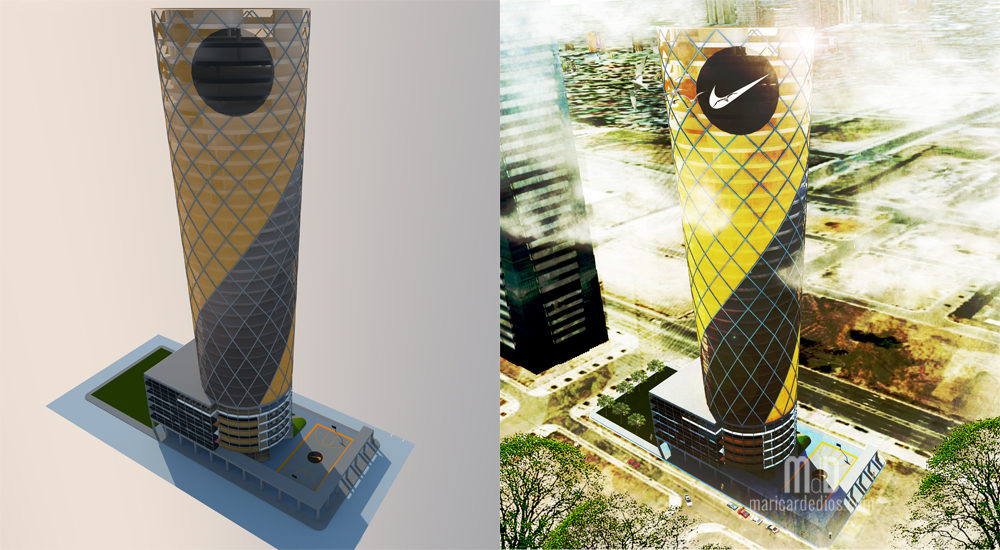


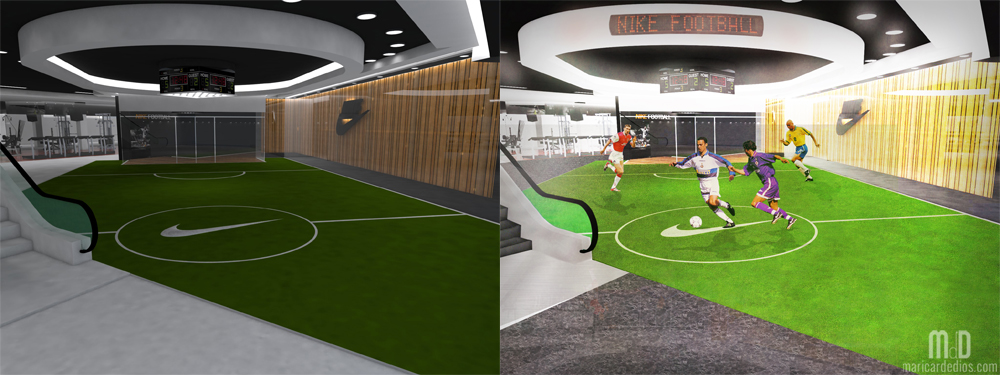
 Of course I can also do the rendering itself if asked. For academic projects such as these, I usually go for the artistic rather than the realistic rendition partly because I think being experimental with the presentation is still fitting for students. When it comes to professional projects, it has to be as realistic as it can get to sell the design to clients and to people, or so I believe.
By the way, in helping out with different theses, I see to it to never interfere with the design of the project. There was a time though that I was tapped further for the designing and modeling of the interiors. That’d be the farthest I would go.
So that’s about it. What do you think? 🙂
I finished all these and more within two weeks, in between my regular/overtime office hours and sleep. I do accept rush work (although I don’t encourage!) and I can finish up to 5 photoshop editing in a night (but that also depends on my schedule, may be more or may be less). If you happen to be interested, either for professional or academic purposes, send me an email! 🙂
P.S.
You can view my undergraduate thesis here (shocks it has been a year!).
A step by step tutorial on how I post process renderings on Photoshop are here: Exterior and Interior


Nice job!
Hi, what parameters did you use on Vray? Did you use HDMI for background?
The Vray settings depend on the scene or the output I want to get. I mostly use HDRI for illumination but I often change the background via Photoshop. 🙂
Hi !
When I want you to make renderings of my work..what type of file is it ?
can cad will do ? or is it too heavy ?
Hi Janet,
If you want me to do the rendering, I’ll be asking for the SketchUp file (3d model). Giving me the Cad File would mean I’ll also do the 3d modeling and that would be another scope (although I’m also open to that). If you only want post processing, the JPEG of the rendered file will do.
You can email me at maricardedios@yahoo.com if you want to talk about this more. 🙂
okay ! I will. soon. 🙂
I’ll just email you.. thank you for replying and info !! 🙂
Youre good… your work flow is more like 30 percent render and 70 percent PS.. correct me if im wrong.
You can say that. 🙂 But the extent of post processing depends really on the rendering output. I sometimes do 10% render and 90% post process for really plain base renders (like this one: http://maricardedios.com/2012/05/10/photoshop-tutorial-interior-perspective/) but if the output is good enough I only adjust a few things.